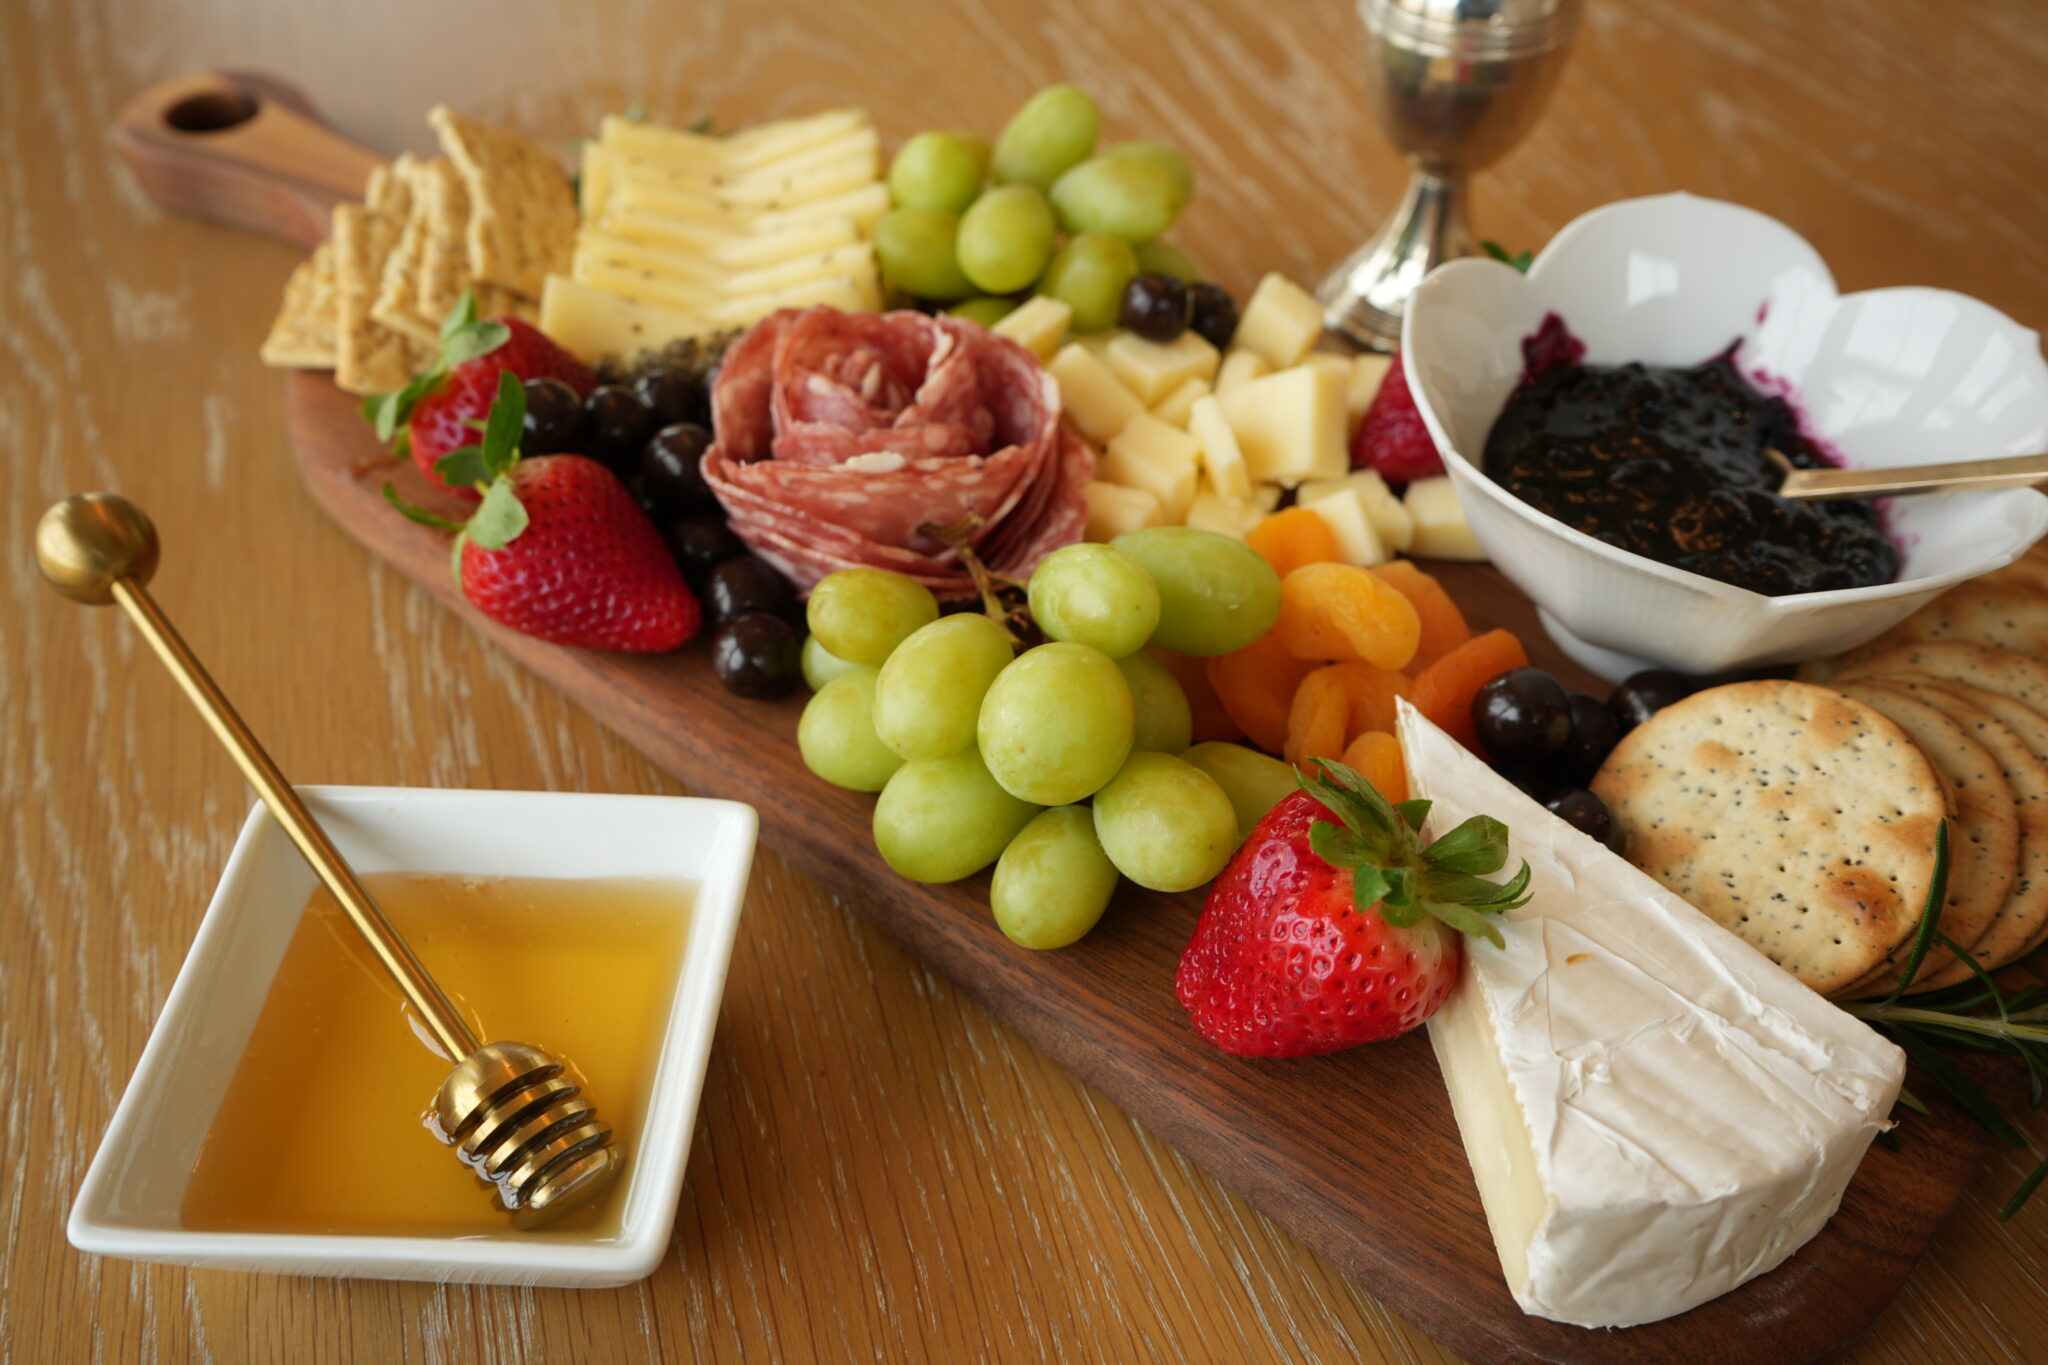
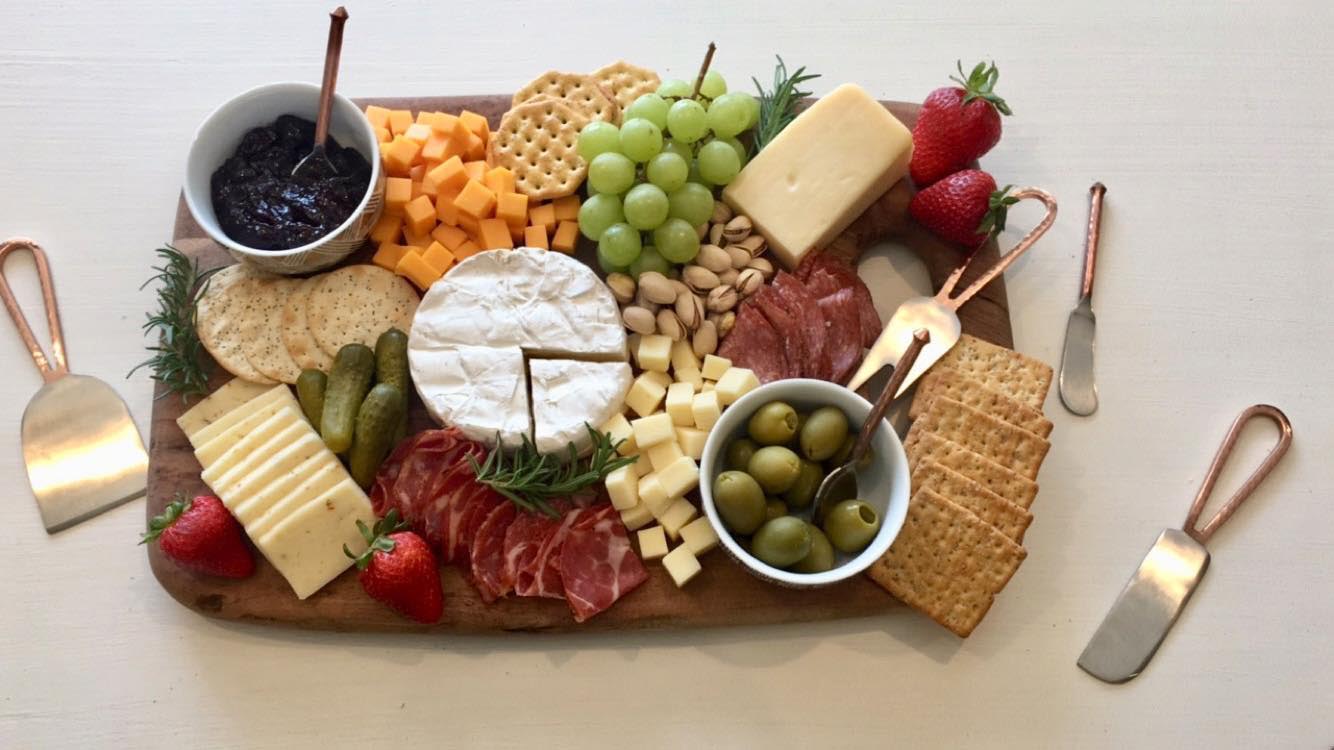
How to Make an Affordable Cheese Platter
We live in Wisconsin, and Wisconsin is known for … cheese! A cheese platter is always a guest favorite but that can add up pretty quickly if you are unsure of what to buy. Here are some tips for creating a beautiful and affordable cheese platter.
Our first tip is to check your own kitchen to start! Chances are, you already have a lot of ingredients on hand. Check your fridge for jams, mustards, pickles, and olives, and your kitchen pantry for things such as nuts and crackers.
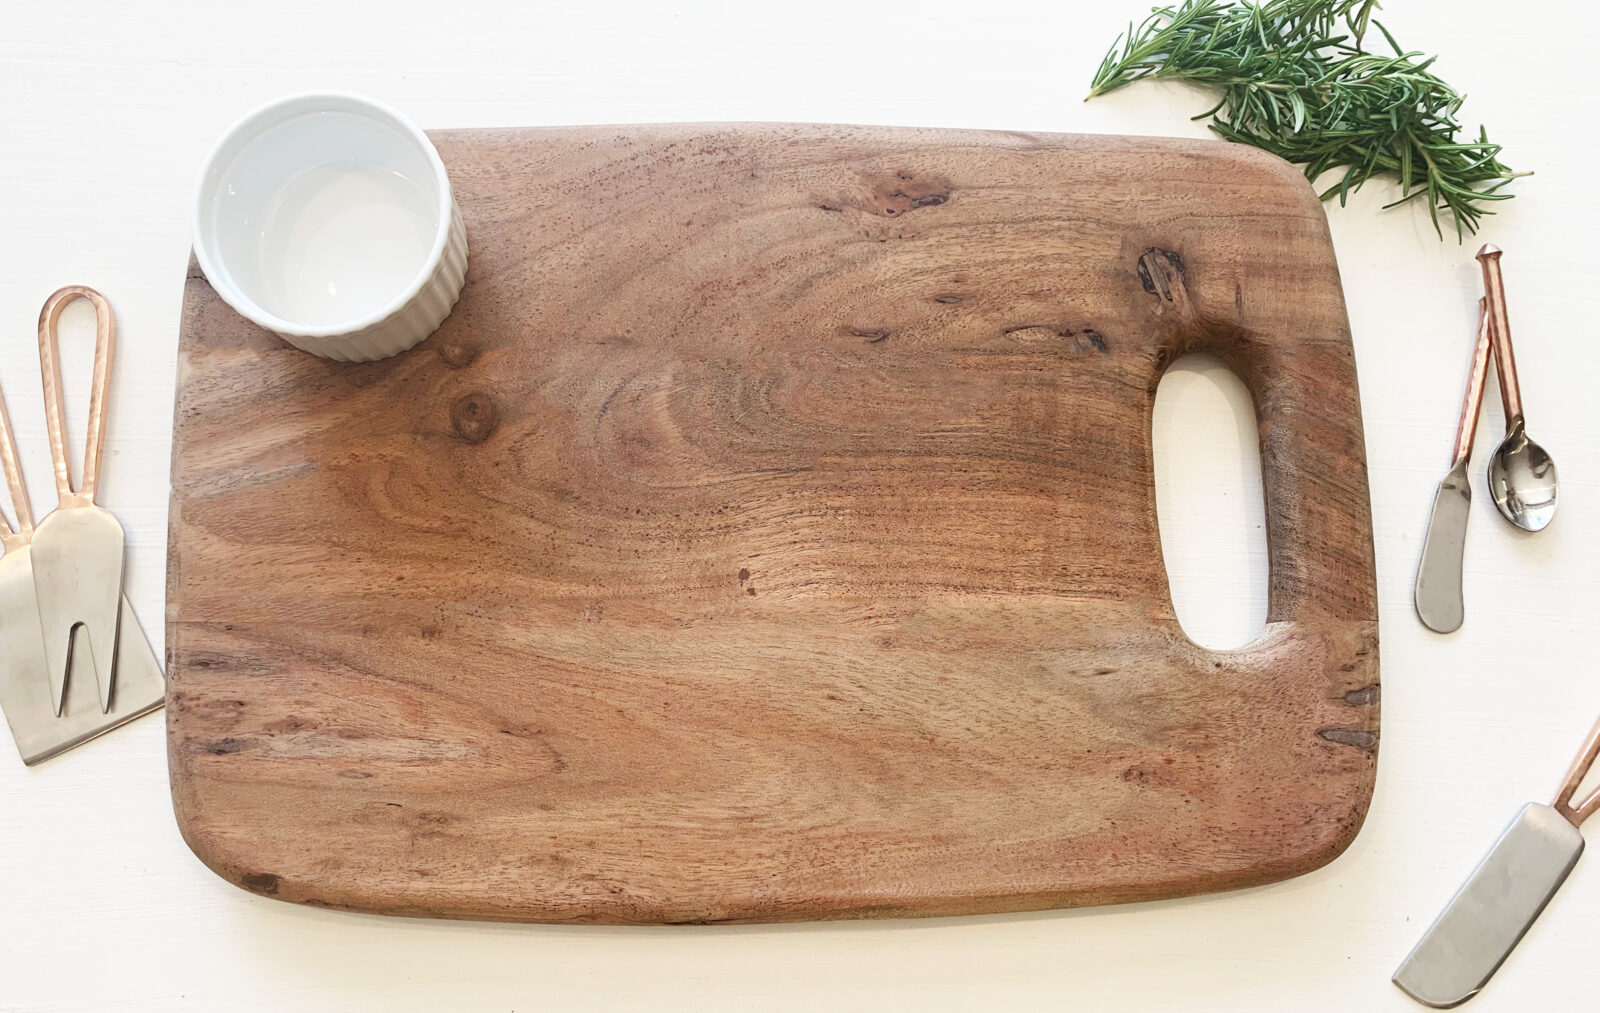
Cheeseboards are typically displayed on a slate or wooden tray, but if you don’t already own one, don’t feel like you need to go out and buy one. You can also use a plate, a cutting board, or even a baking sheet to make your affordable cheese platter look the same as if you had a slate tray.
THE CHEESE!
On a cheese board, the cheese is obviously the star of the show!
There’s really no right or wrong when it comes to the cheese selections, as it all comes down to what you and your guests would enjoy most. However, if you are looking for some recommendations, this is a great place to start!
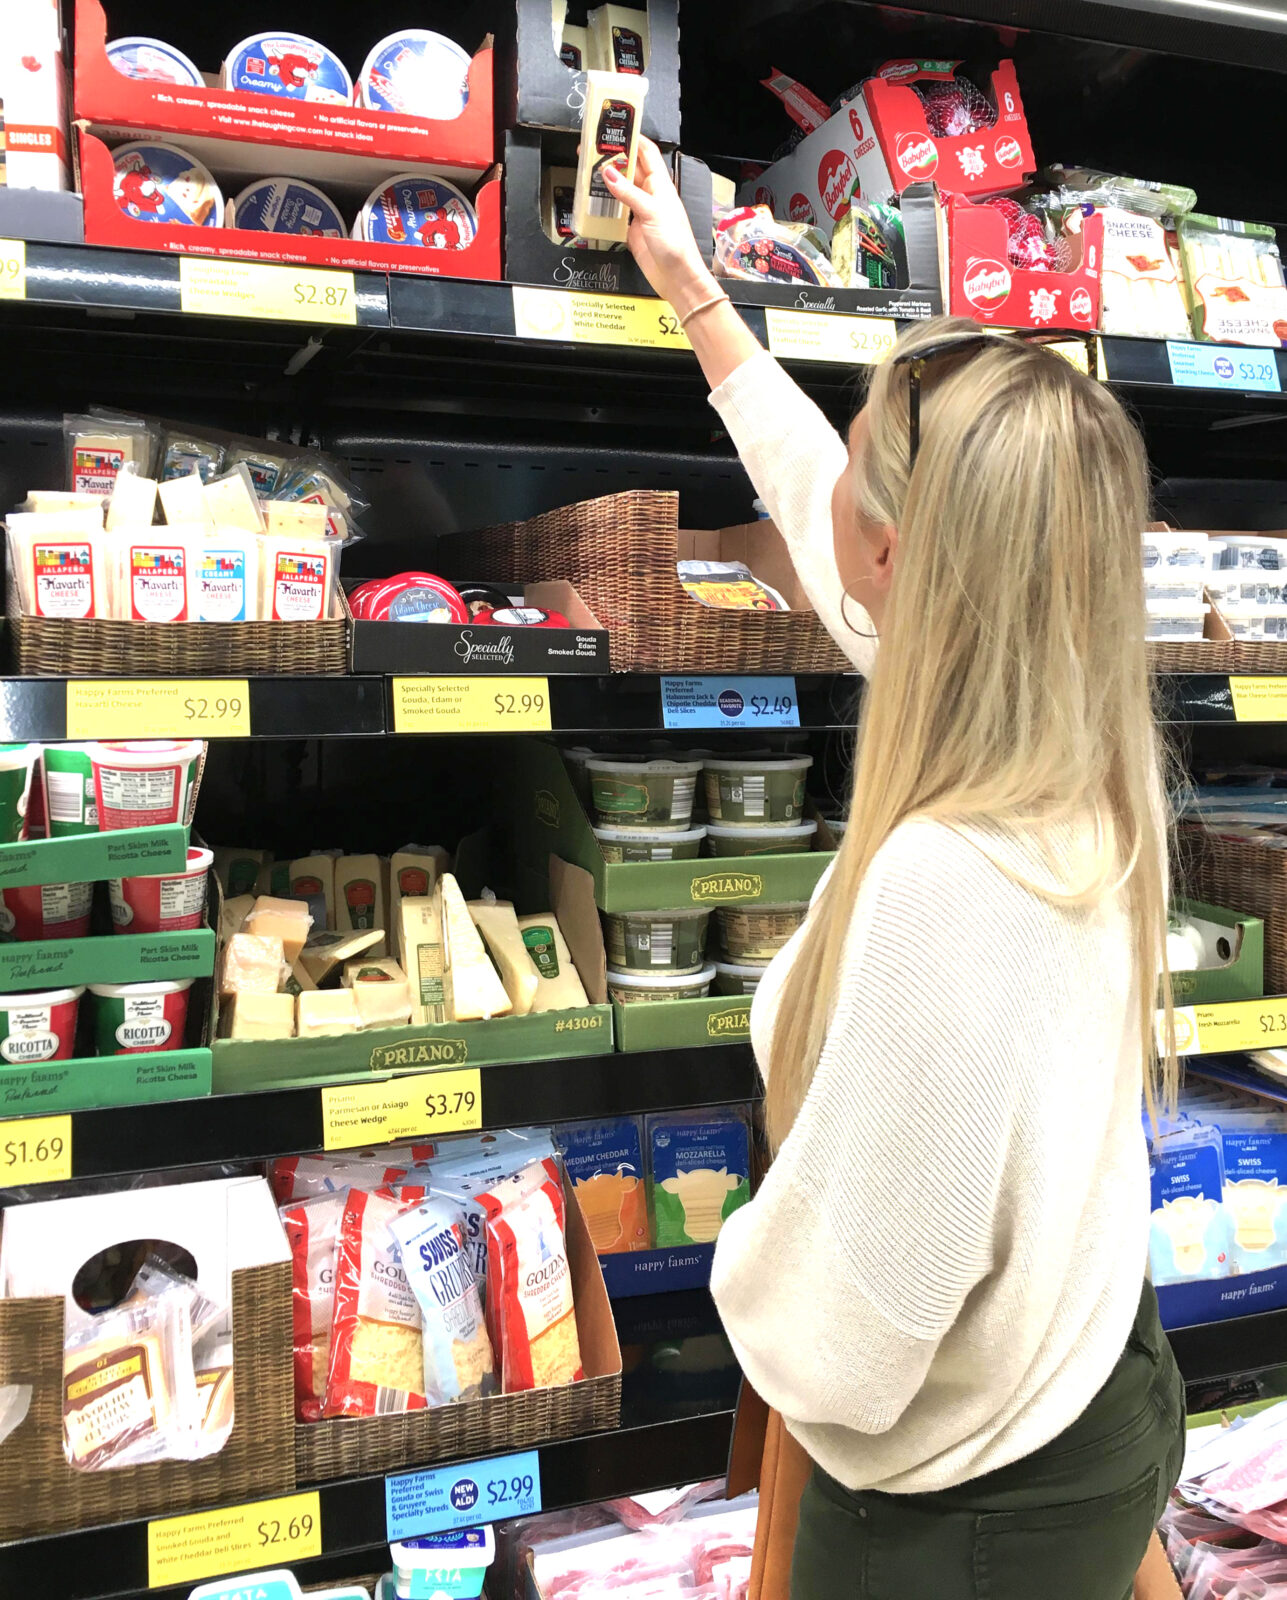
Choose a variety of cheeses (but don’t buy too much)! Three different types of cheese are great for a small group of people, but if you’re hosting a medium crowd, four kinds of cheese would be perfect. When selecting your cheese, try to include a variety of textures and flavors. For a medium-sized cheese board, we recommend splitting the cheese selections between 2 soft(er) cheeses and 2 hard kinds of cheese. When you get to the grocery store, see what deals they have and plan your cheese selections from there. (This is also a great way to find some new favorite cheeses yourself!) When looking for the classics, block mild cheddar and domestic parmesan are more budget-friendly buys and are crowd-pleasers.
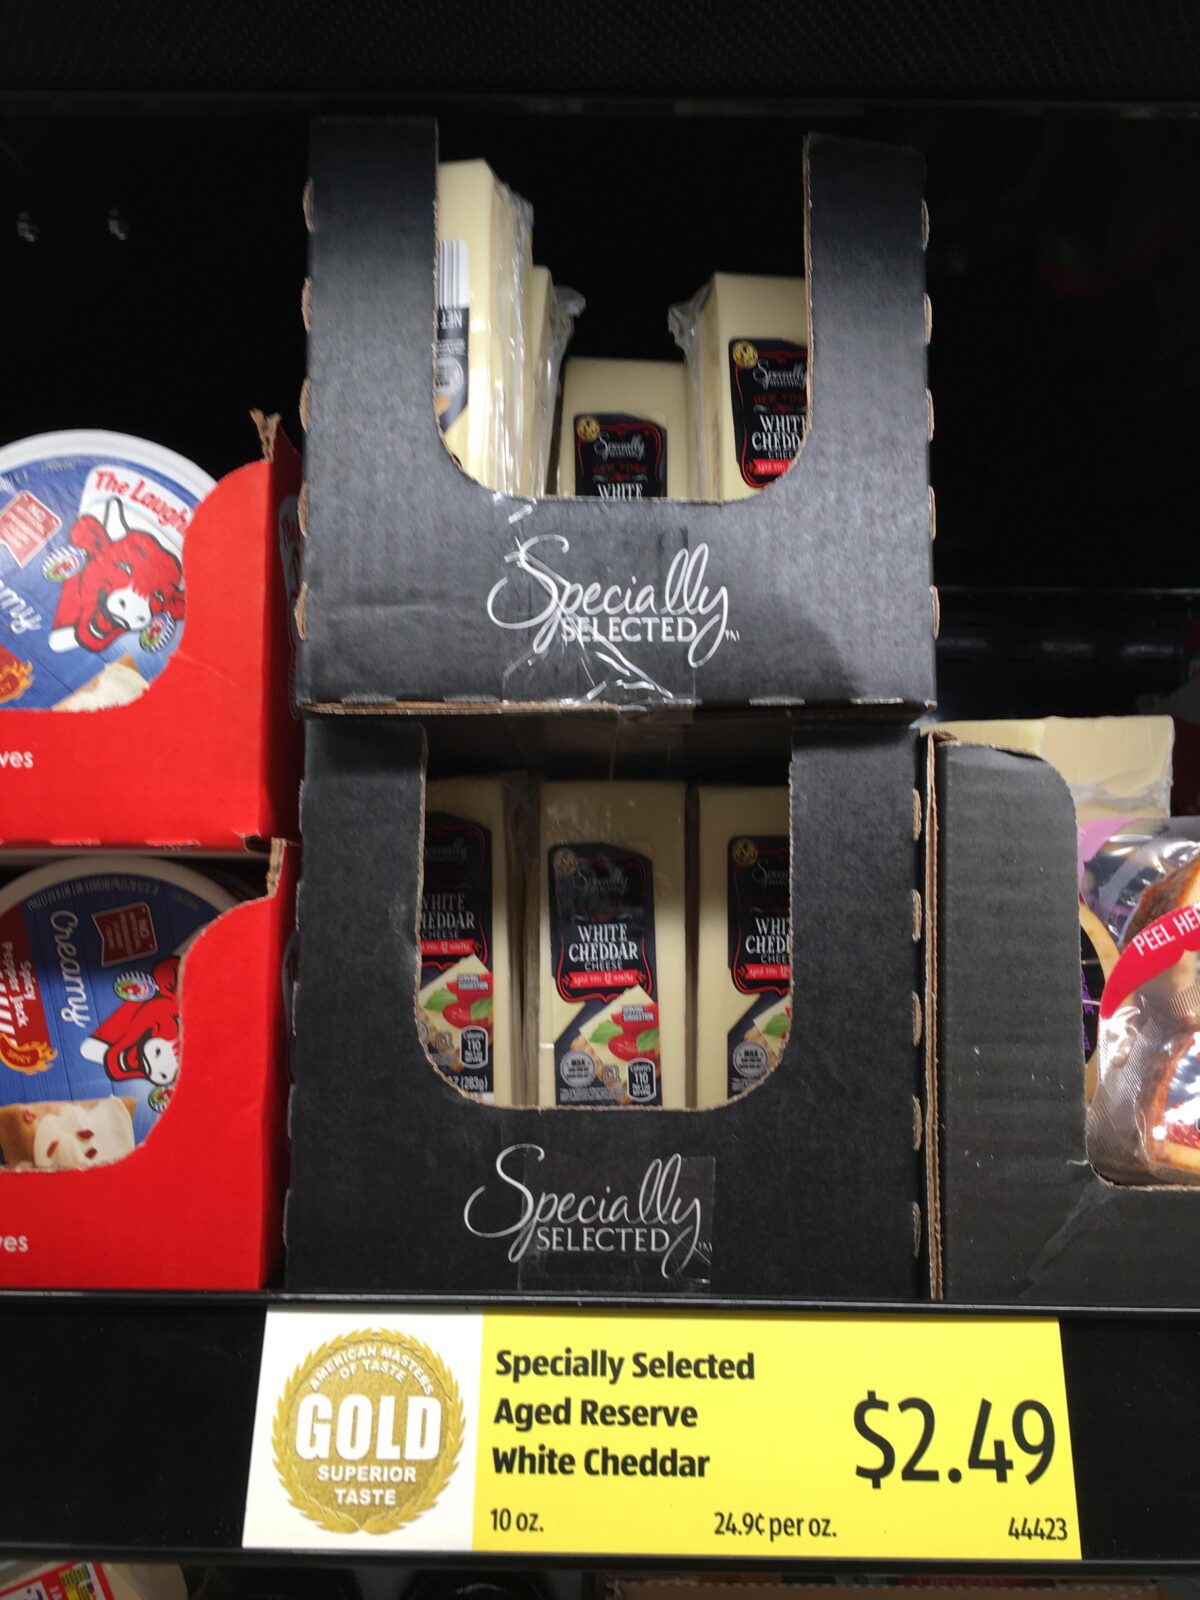
One of our favorite stores to shop at when making an affordable cheese platter is Aldi’s. They have a great selection of cheese at prices that are hard to beat. (We highly suggest checking out the Specially Selected Aged Reserve White Cheddar for $2.50 or the Specially Selected Le Gruyère which costs $5.00).
Another tip is to add a cheese spread to a small serving bowl to add to your board instead of blocks of cheese. Cheese spreads are crowd-pleasing, go far when it comes to serving counts, and are also budget-friendly. Once you have your cheeses, cut each one into different-sized slices and/or cubes (this tip is mostly for the hard cheeses on your board). This is a tip to help fill the space, but it also allows the cheese to go further in a group!
The Fruit
The great thing about adding fruit is it adds some color and the perfect touch of sweetness to your board!
Depending on the season, purchase what is the best price at the store when considering fruit for your tray. (It’s almost always cheaper to buy fruits and veggies when they’re in season). For example, buy apples for your cheese board in fall and strawberries in summer.
We suggest slicing an apple, adding some grapes (with stems on), or scattering strawberries throughout the board. We generally choose two fruits, but one is certainly enough when enjoying a smaller board.
Crackers / Bread
Add a bit of crunch, texture (and of course a vessel for the cheese) by adding crackers or bread.
However, when staying on a budget, the majority of your money should be spent on the cheese, not the crackers. Aldi (again, one of our favorite stores for creating an affordable cheese platter) has great cracker assortments that are super affordable and gives a great variety without breaking the bank. However, if you are buying individual packages, pick up a budget-friendly classic favorites such as Wheat Thins or Ritz.
Another great idea is to add a baguette or some French bread. Bonus: A lot of times you may even find some marked-down pieces of bread in the bakery department of your grocery store. Adding just baked (but completely cooled) bread to your board is a great touch and is a terrific way to fill some space.
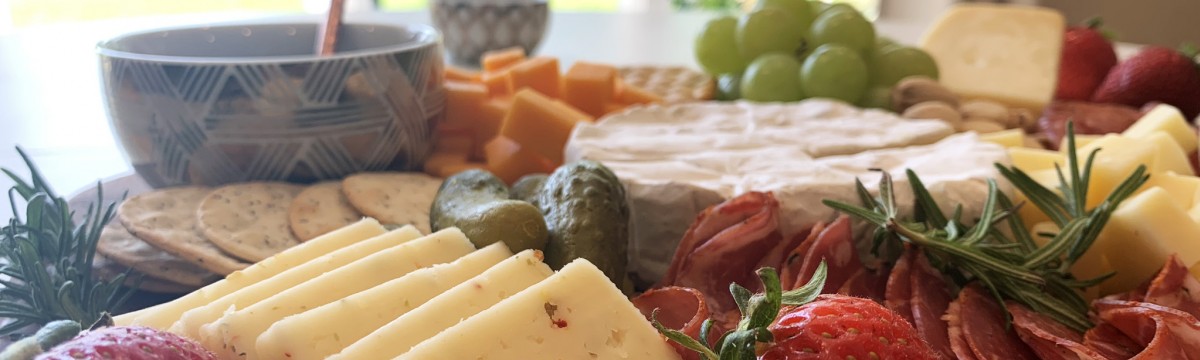
Spreads
Now that the big pieces are on our cheese plate, it’s time to have some fun and start filling in the gaps! This is where a cheese plate really starts to come together and adds that wow factor.
Most of the time there is no need to go buy new jars of fancy preserves. Most likely you have a spread you can use at home! You can use honey, whole-grain mustard, or just a classic jam from your fridge or pantry. Scoop your spread of choice into a small serving bowl and serve on the board with a spoon or knife, and you’re good to go!
Meat
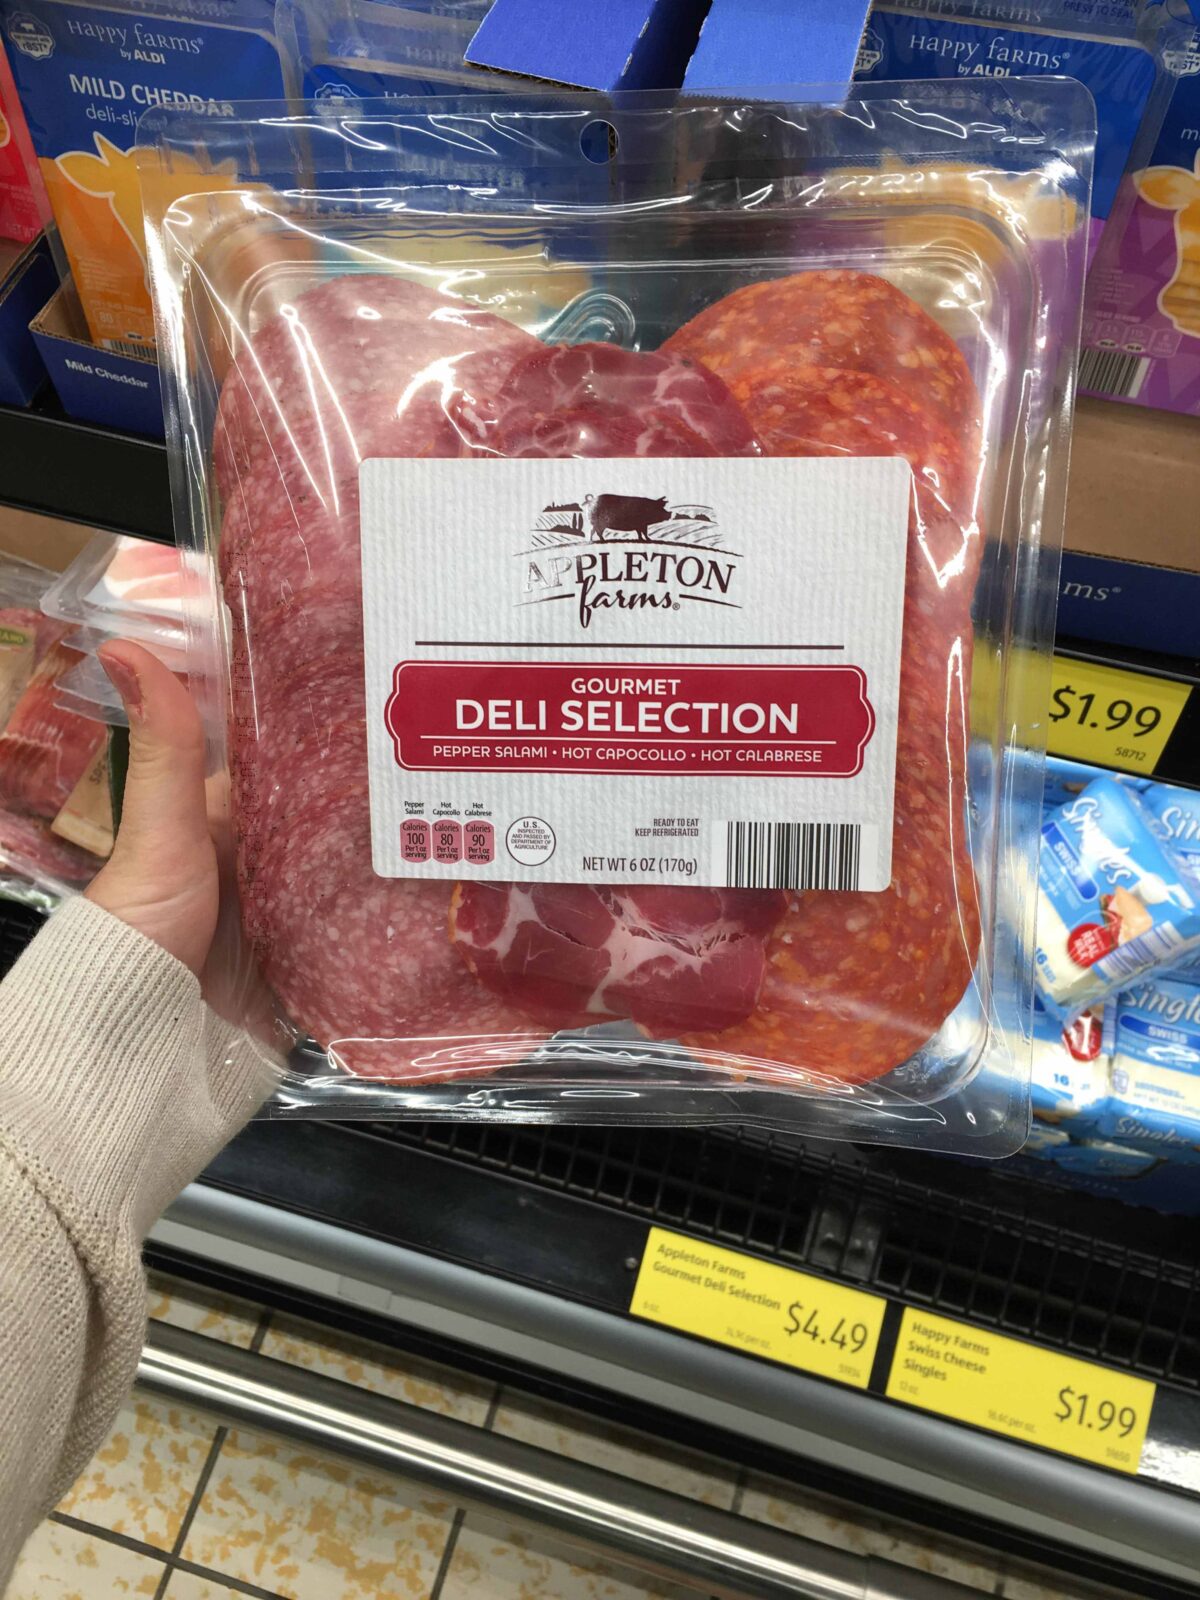
Most grocery stores have pre-sliced packages of prosciutto, salami, or pepperoni. We suggest salami or pepperoni as prosciutto can be a bit pricey. Salami runs around $5.00 per pound and when you slice it thin it will fill a lot of space on the board.
You can add your meat to your plate in a few different ways: In a simple stack, fanned out in a line or our favorite is by folding larger pieces into triangles (this way takes up less space and adds some visual interest).
Nuts, Pickles, and Olives
Pickles: Pickles are a fan favorite, budget-friendly, and can be eaten alone once the party is over! We suggest the small dill pickles as grocery stores generally carry small containers of them and they fit well next to the other items on the cheeseboard.
Nuts: If you don’t have any nuts at home, instead of buying a whole container of them, we suggest purchasing the small one serving bags. The nuts in these small packages are normally costly pistachios or macadamia nuts and will give your board more gourmet appeal – but on a budget! Another idea is to purchase trail mix!
Olives: Olives can be bought in small containers, stuffed or unstuffed, but if your grocery store has one, we recommend hitting up the salad bar for smaller portions of olives and freshly made mozzarella.
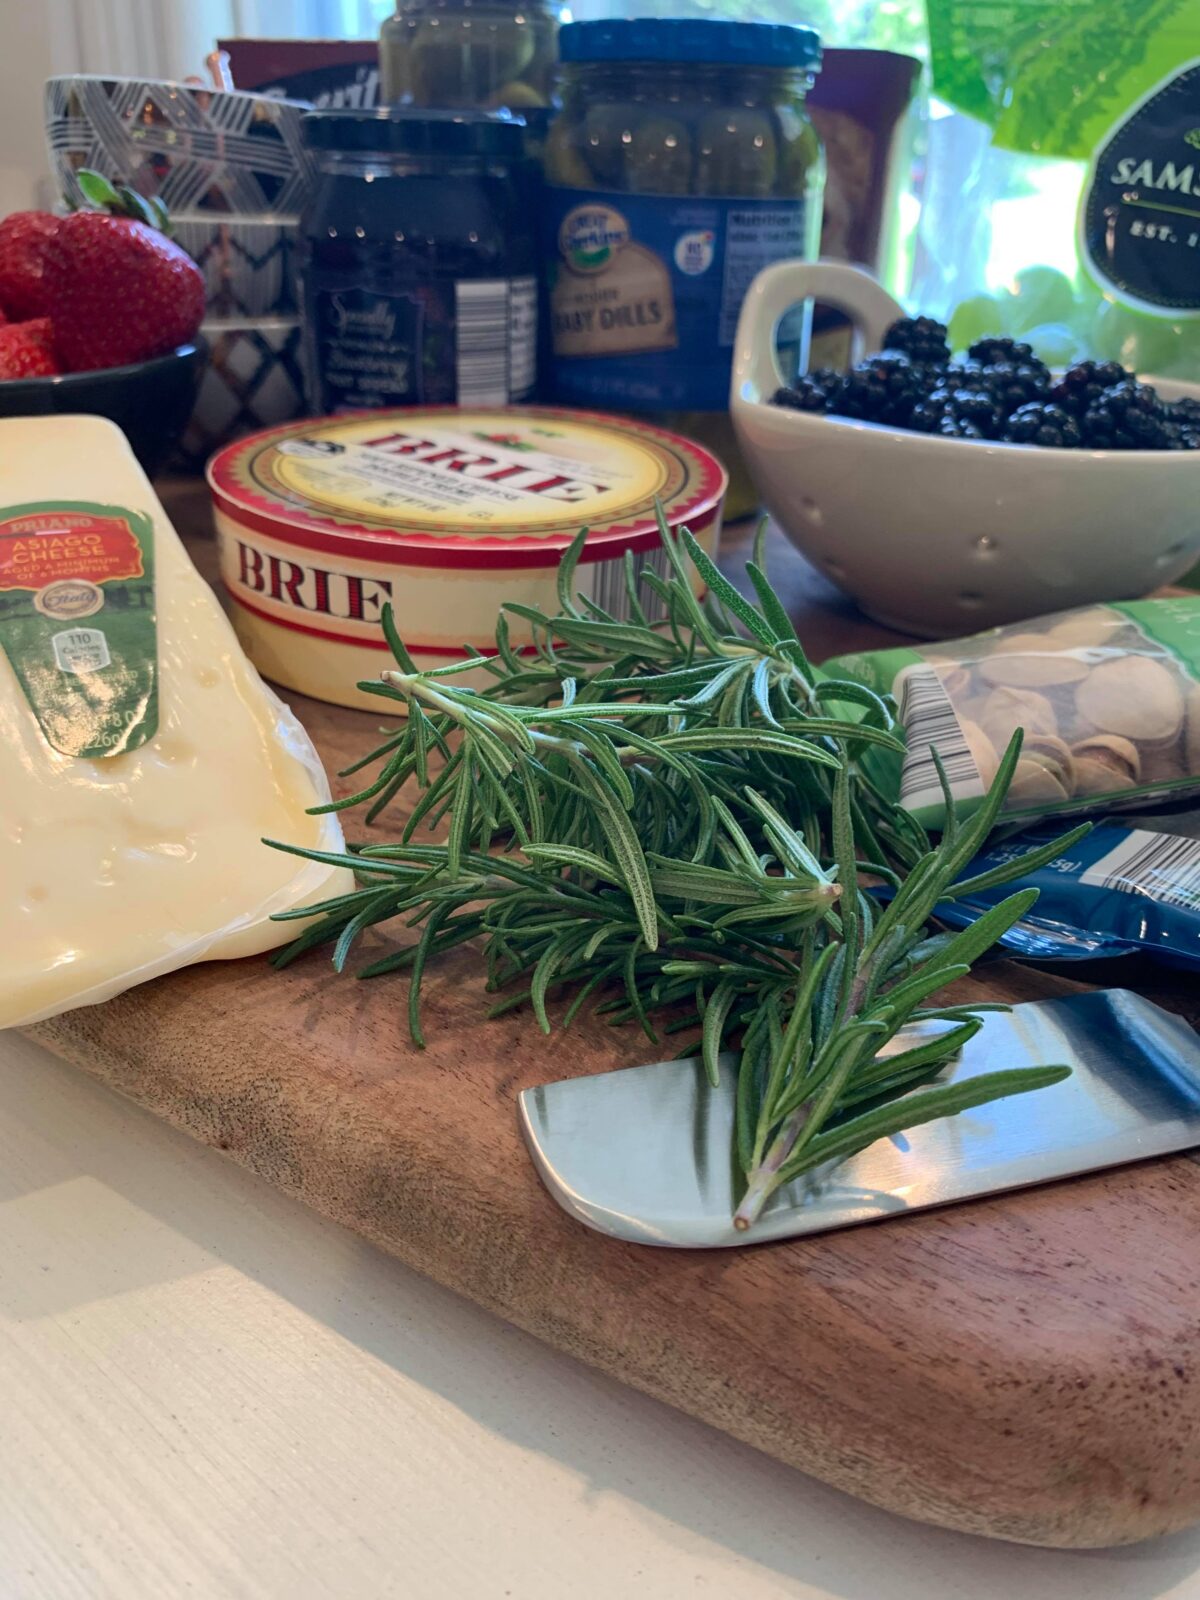
Lastly, throw a few sprigs of fresh rosemary or thyme from your summer garden to cover “blank space” on the board and voila, a fancy budget-friendly, sure to impress, affordable cheese platter!
One final extra tip for your cheese board: Let your cheese sit at room temperature for at least 30 minutes to an hour before serving. We promise your cheese will taste even better!

Our grocery list (with prices) for both our large and medium cheese boards is listed below. All items were purchased at Aldi’s. There was also plenty extra of all items for replenishing.
(Remember, you don’t need each and every item on these lists when building your affordable cheese platter!)
Medium Cheese Board
| Havarti Cheese | $2.99 |
| Aged White Cheddar | $2.49 |
| Brie Cheese Round | $2.99 |
| Extra Sharp White Cheddar | $1.99 |
| Blackberries | $2.29 |
| Salami | $4.49 |
| Fruit Spread (Jam) | $1.99 |
| 1.5 oz of pistachios | $1.19 |
| 6 Cracker Assortment | $2.95 |
| Pickles | $1.28 |
| Rosemary | Garden |
| Total | $24.65 |
Large Cheese Board
| Havarti Cheese | $2.99 |
| Aged White Cheddar | $2.49 |
| Brie Cheese Round | $2.99 |
| Extra Sharp White Cheddar | $1.99 |
| Strawberries | $1.99 |
| Salami | $4.49 |
| 1 lb Green Grapes | $2.33 |
| Fruit Spread (Jam) | $1.99 |
| 1.5 oz of pistachios | $1.19 |
| 6 Cracker Assortment | $2.95 |
| Stuffed Olives | $2.89 |
| Pickles | $1.28 |
| Rosemary | Garden |
| Total | $29.57 |